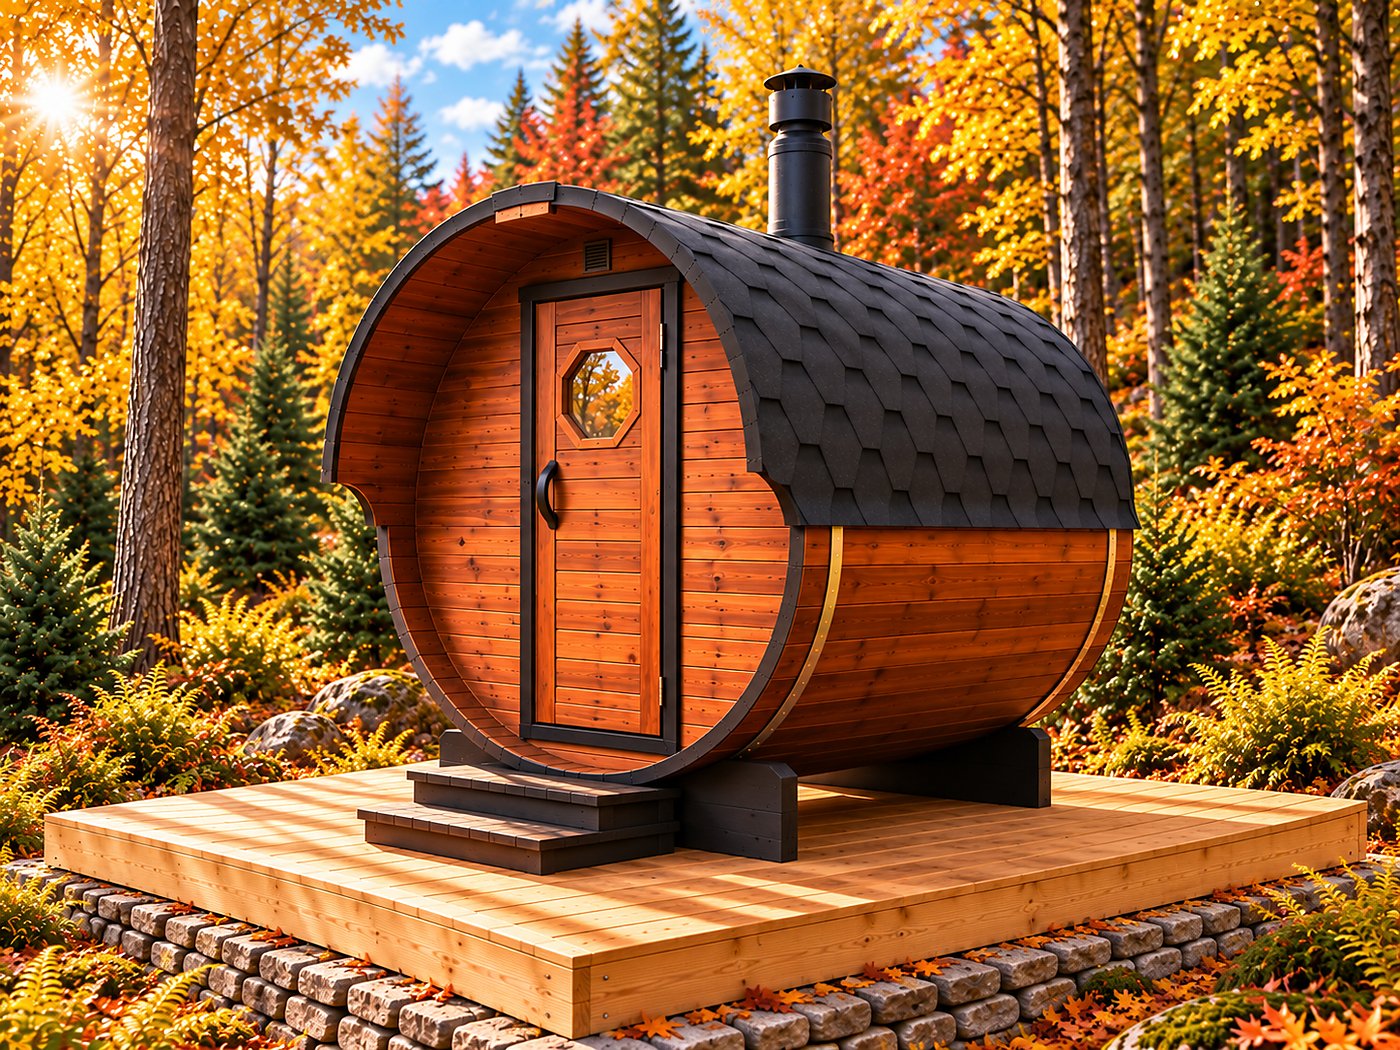
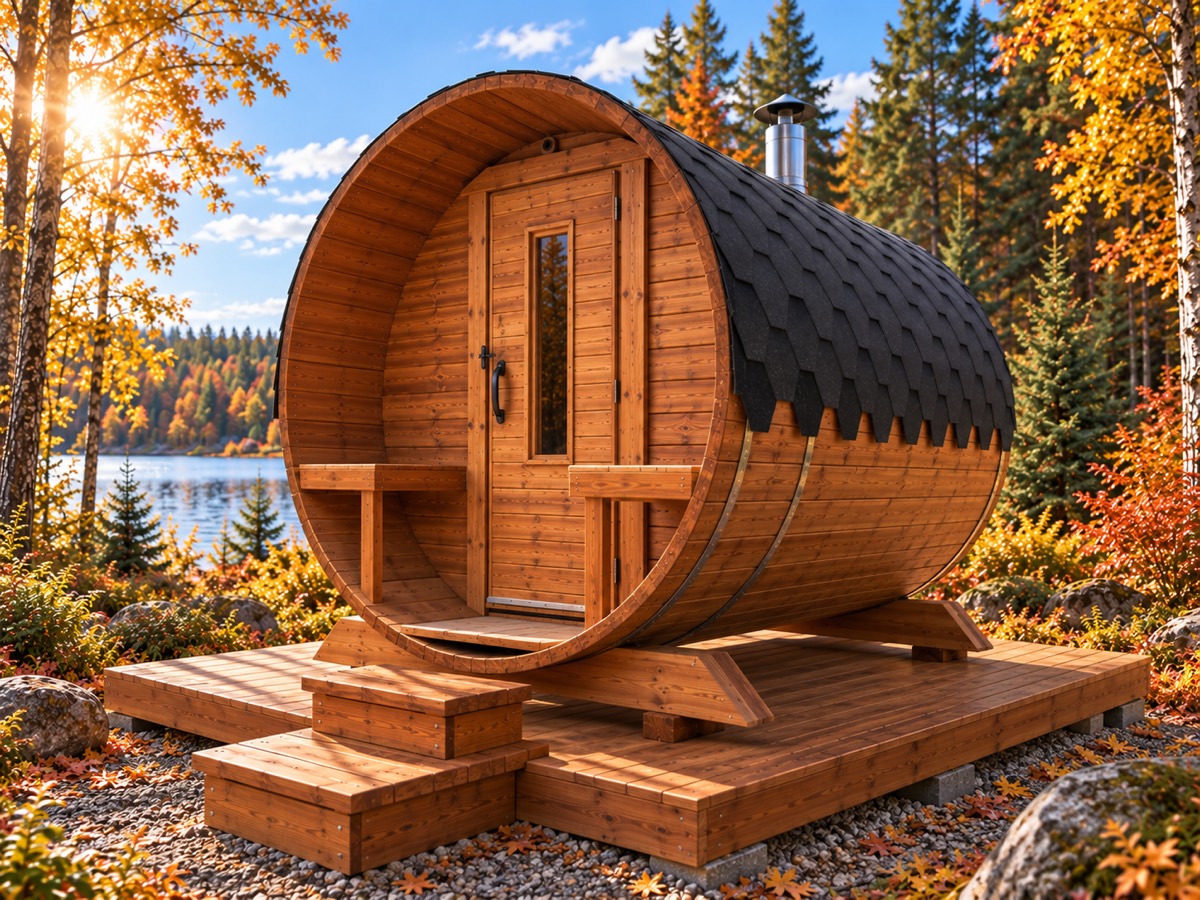
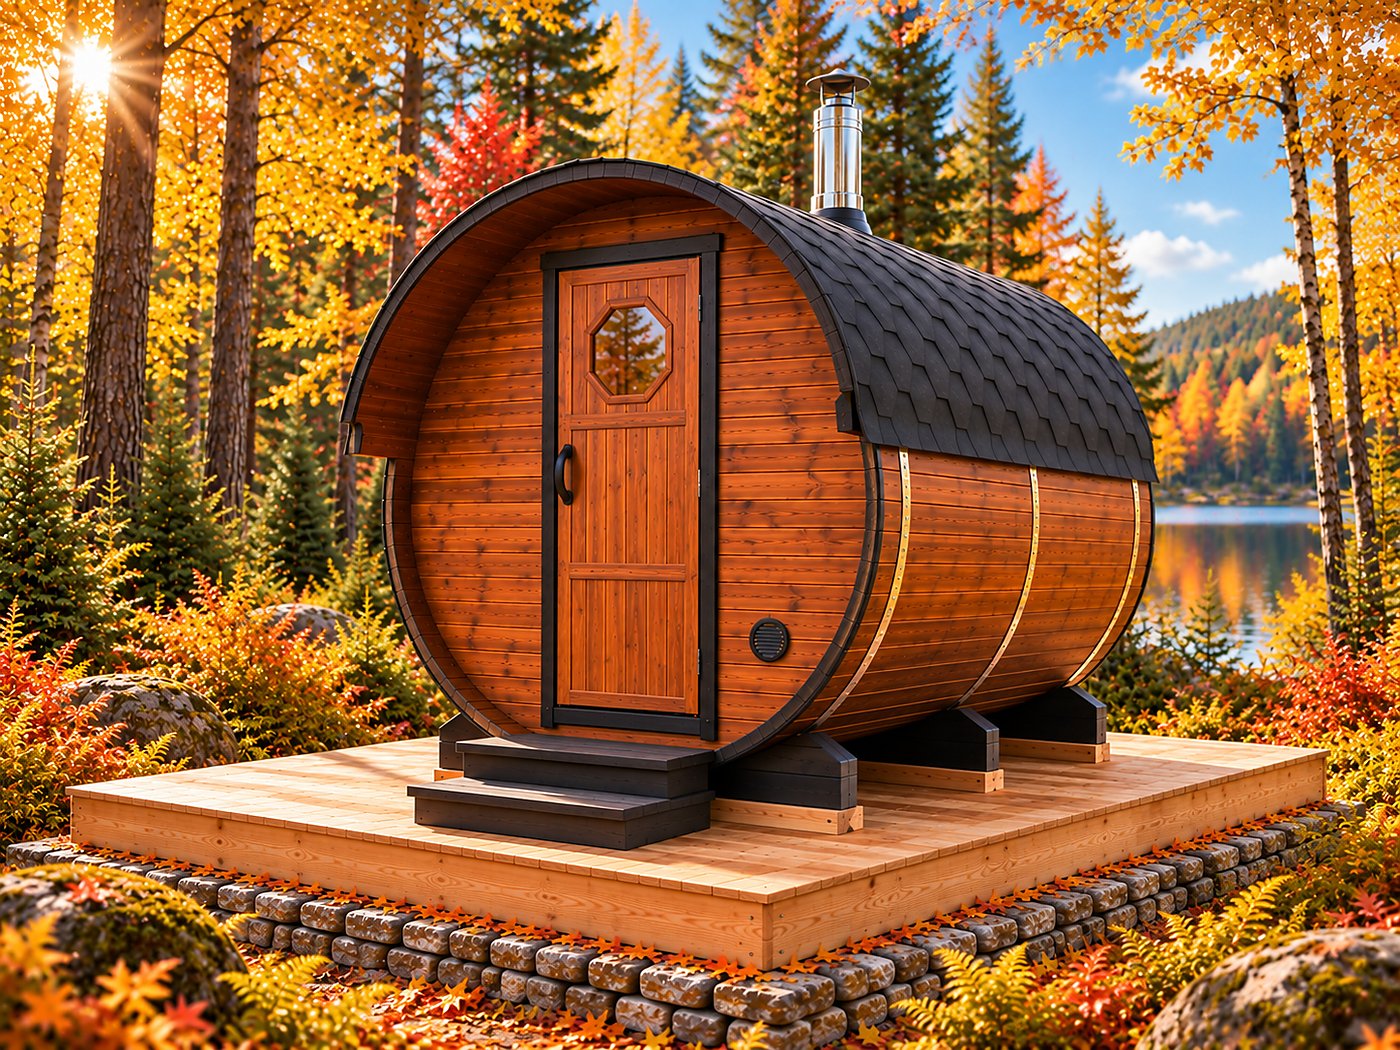
How to light a wood-fired sauna stove, step by step
Lighting a wood-fired stove in a barrel sauna: preparation, stacking logs, air supply, topping up and the mistakes that cost you temperature.
Read →You do not use a new sauna straight after building it. The first firing is a technical step, not a sauna session, and it helps to know what to expect: smoke and a sharp smell can alarm someone who has just spent a lot of money.
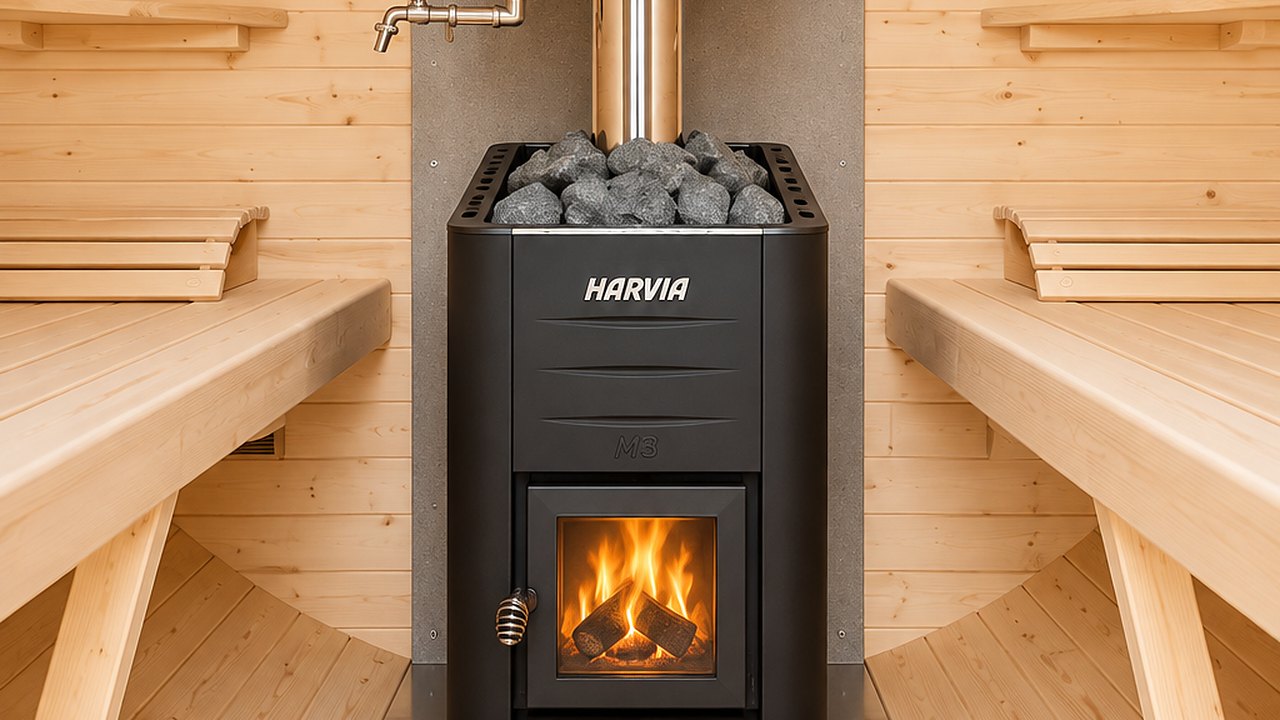
A new stove has a factory protective coating, oil or heat-resistant paint, which has to be burned in. Until that has happened, it gives off fumes each time you fire it, and the smell works into the wood.
The timber itself releases residual moisture. That is normal and passes after the first thorough heating.
Metal parts such as bands, fittings and brackets go through a full expansion cycle for the first time. Afterwards some of them need tightening.
Light the stove and keep the sauna at a high temperature for about an hour, with nobody inside.
Open the ventilation fully and leave the door ajar. You will see smoke from the stove and a sharp smell of burning oil. That is normal, temporary and not a defect.
Do not throw water on the stones on the first firing. They should first heat through completely and dry.
If our crew assembled your sauna, they usually do this burn-in on the day and show you how to run the stove. If you built the kit yourself, do it right after finishing the build, before the first session.
Air the sauna thoroughly until the smell is gone. With the door open it can take an hour.
Check whether anything has loosened after the first cycle: bench fixings, brackets, door hinges, band tension.
Look at the flue passage through the wall or roof. Are there any soot marks around it? It is the most important checkpoint after the first firing.
Usually the same evening or the next day, once it has been fully aired.
The first session smells more of wood than any later one. For many people it is the best moment with their new sauna.
The wood may crackle as it heats and cools. It is moving and settling into the cycle. That is not a defect, and it gets quieter after a few sessions.
Fine surface cracks can appear along the grain. That is natural behaviour for solid wood and does not affect tightness.
The bands may need re-tightening after the first season. That is normal maintenance, not a warranty issue.
Soot marks around the flue passage.
Smoke that blows back into the sauna instead of drawing up the flue.
A door that will not close at all after the burn-in.
A crack running right through the wood that you can see light through.
If any of that happens, send us photos on WhatsApp and we will help.
Name and phone number — we will message you on WhatsApp, help you pick the size and price it with delivery to your address.
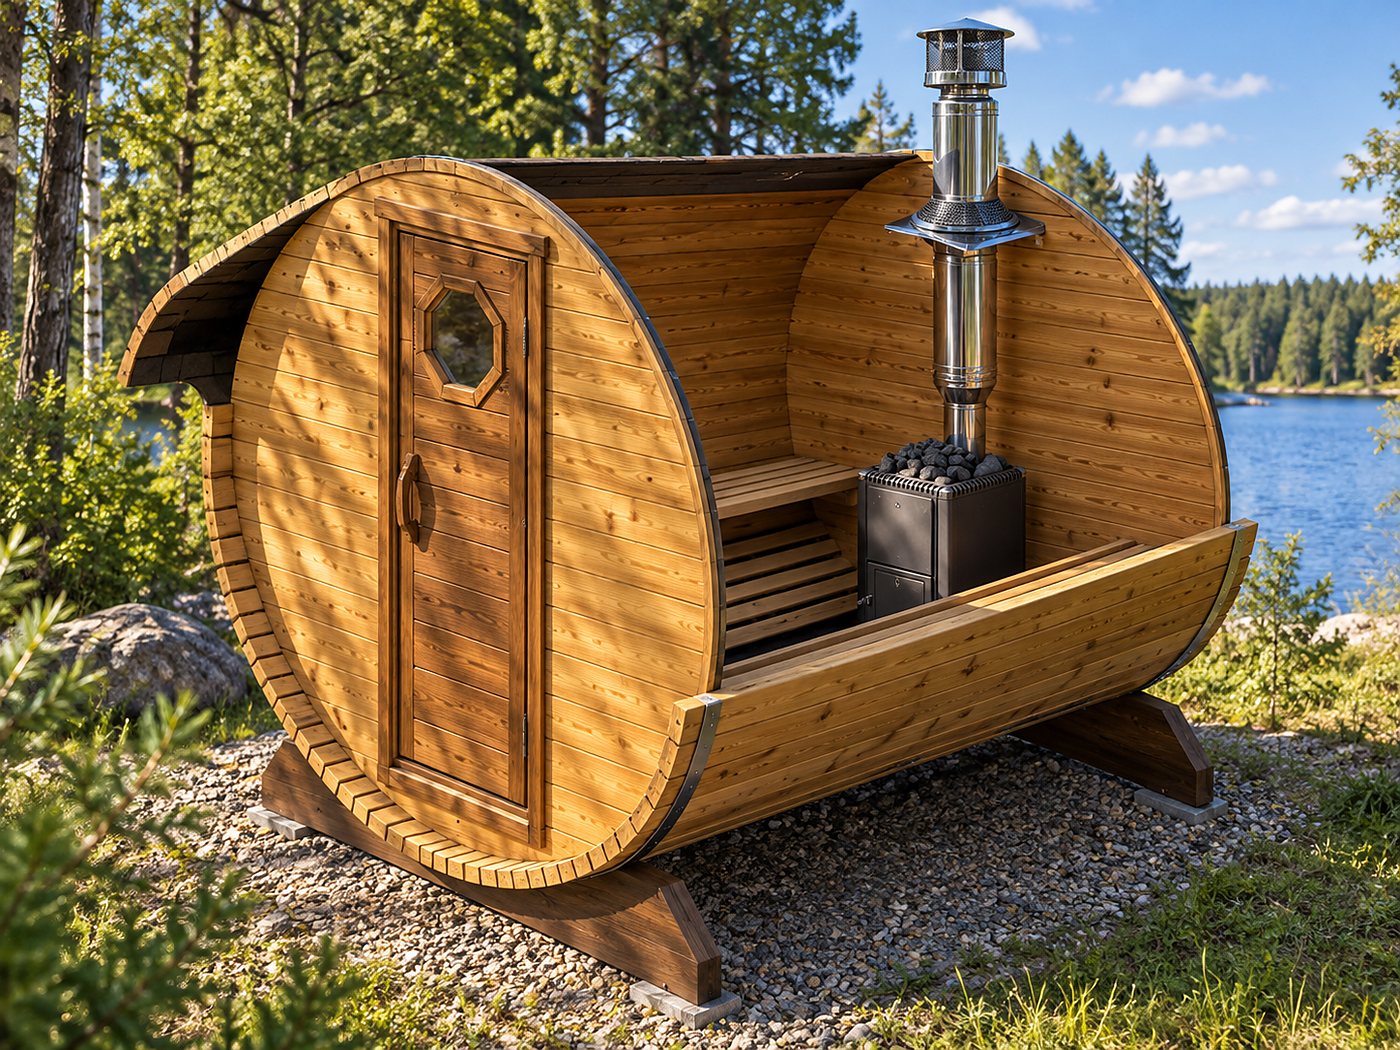
Lighting a wood-fired stove in a barrel sauna: preparation, stacking logs, air supply, topping up and the mistakes that cost you temperature.
Read →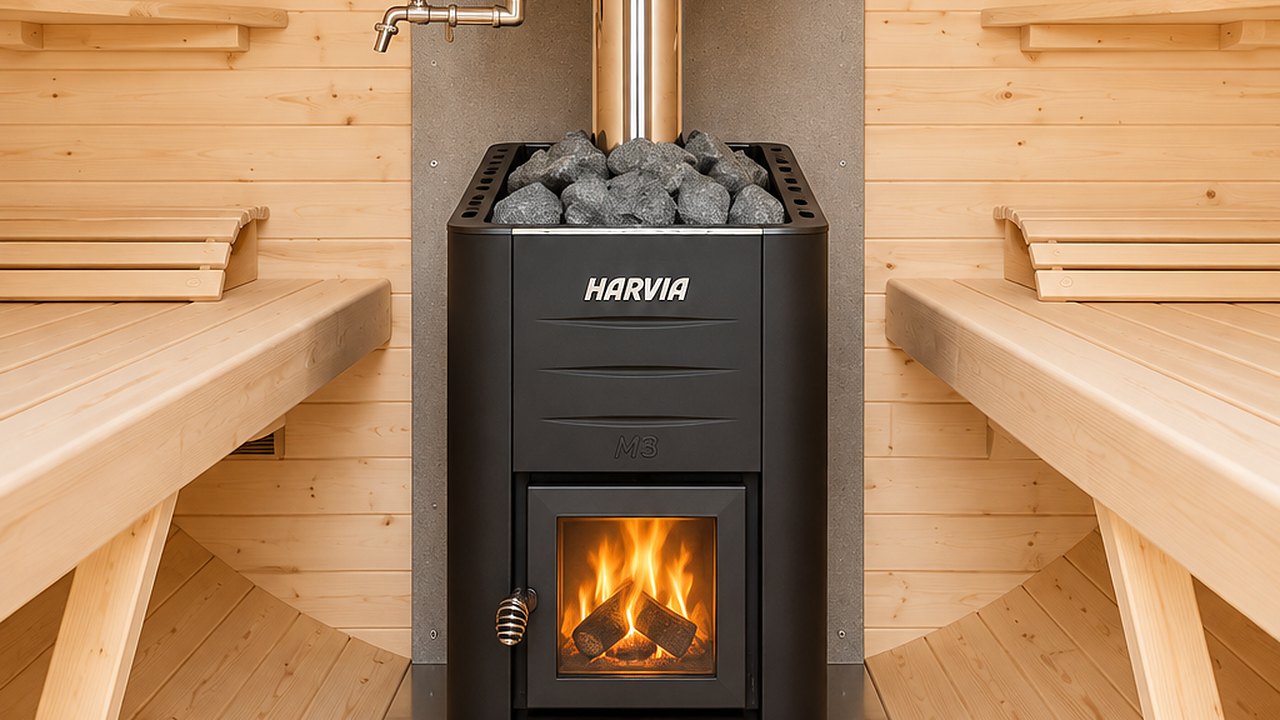
Why your barrel sauna won't reach temperature: door seal, ventilation, damp wood, packed stones, stove size. Check them in order, cheapest first.
Read →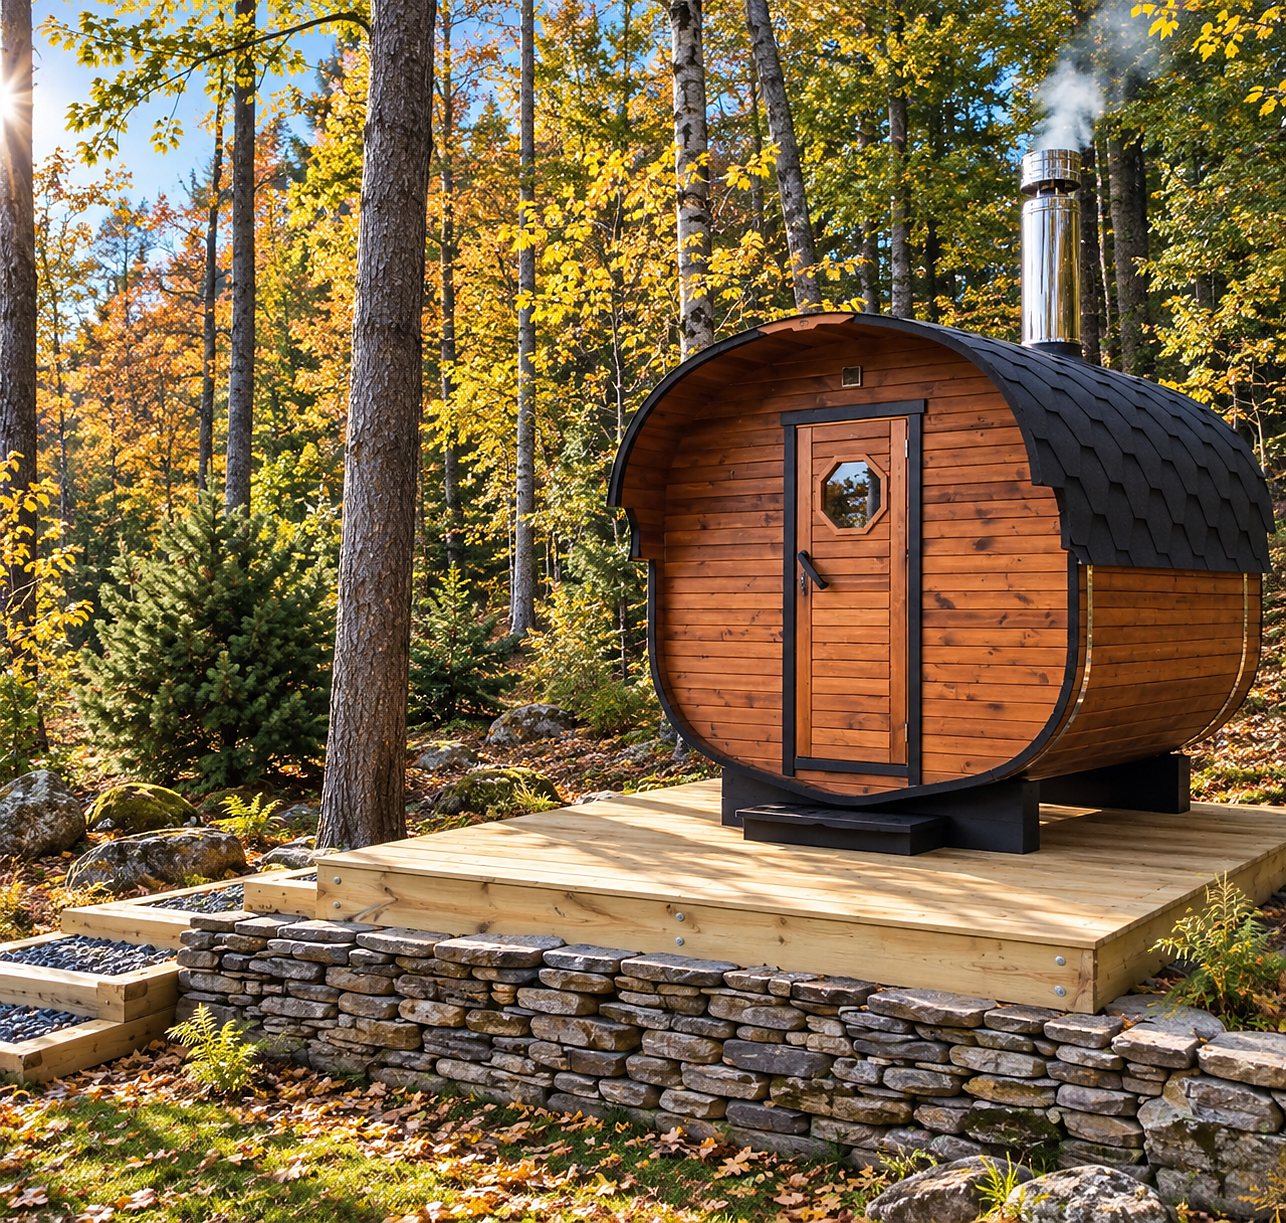
How the flue of a wood-fired sauna is routed, what clearances to timber apply, what a spark guard is for and how often to clean the chimney.
Read →Name and phone number — we will message you on WhatsApp, help you pick the size and price it with delivery to your address.
Cookies
Besides the essential ones, we use cookies for visit statistics and measuring ad performance. We turn them on only with your consent. Privacy.